


A DIY guide on how to replace fascia boards
April 14, 2023
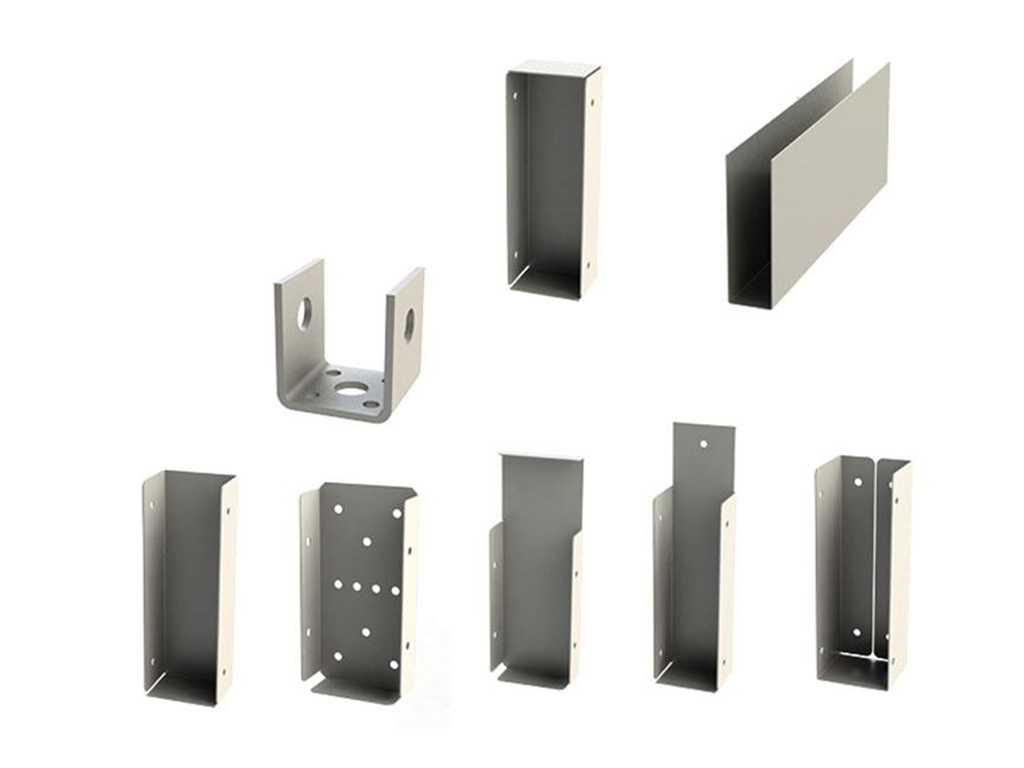
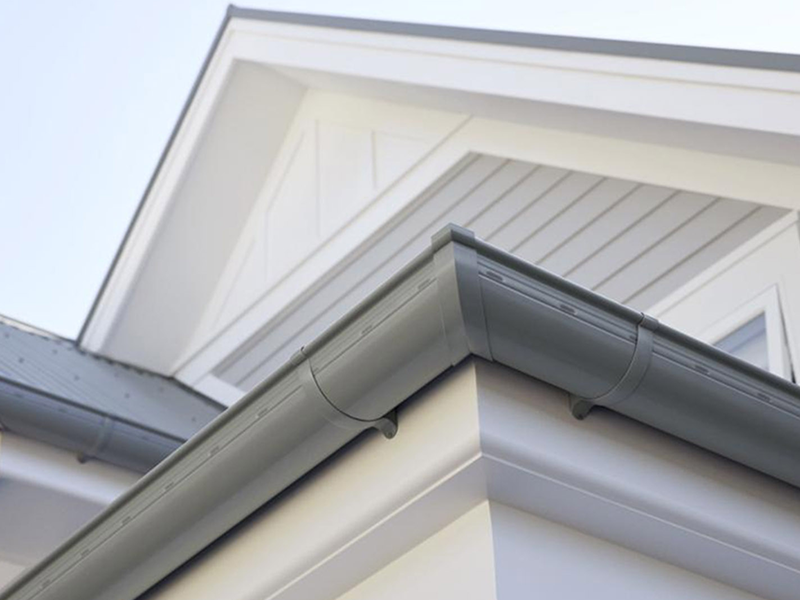
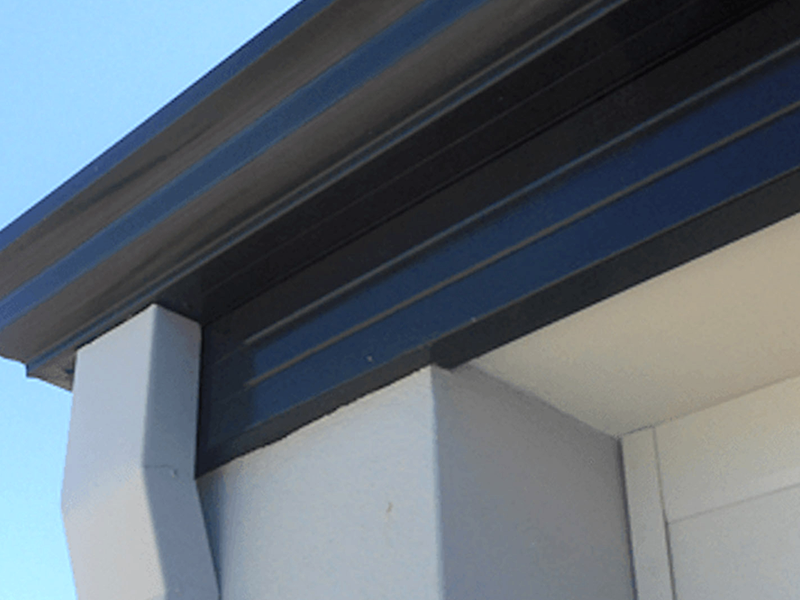
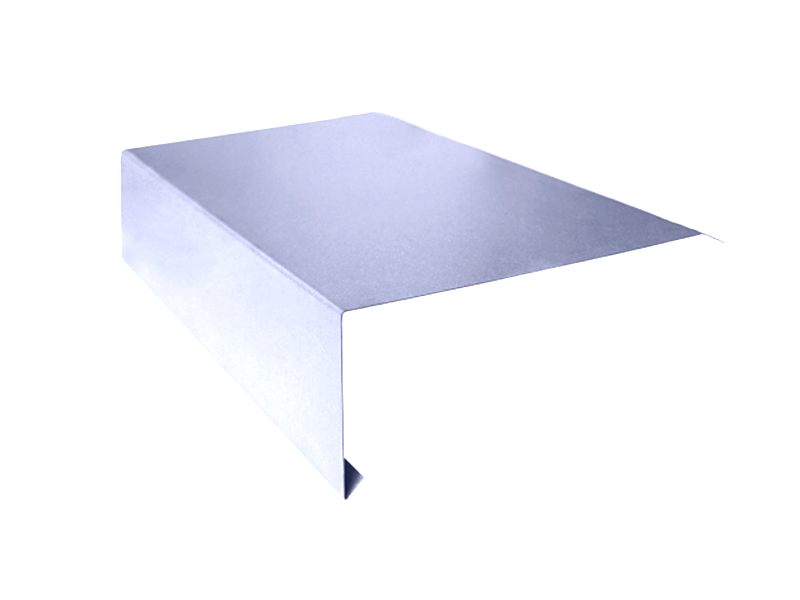
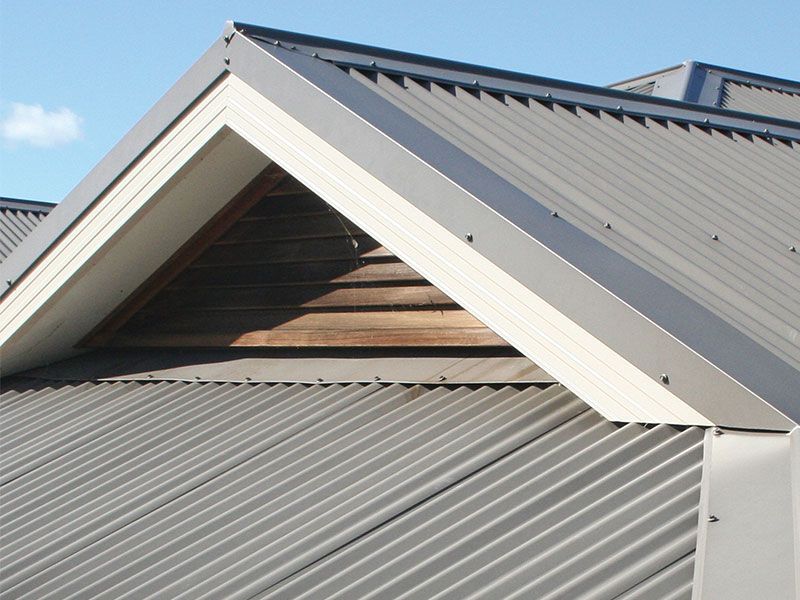
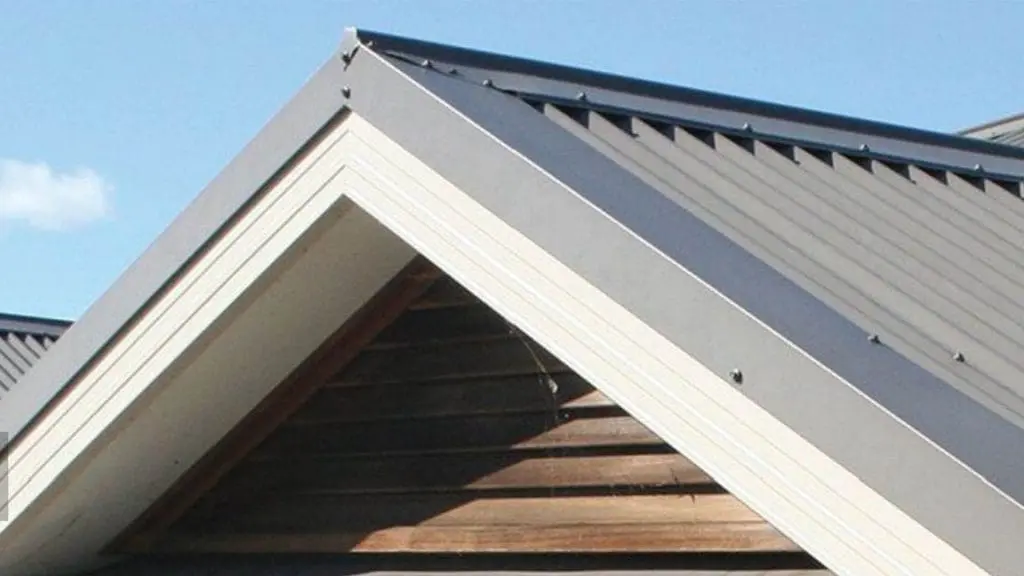
The term “fascia” comes from the Latin language and refers to a band or strip-like material. Fascia is a common architectural term used to describe the board that typically sits under the roof edge or lining. It goes behind the guttering and protects the inside parts of the roof, like the rafters, from the outside elements. A roof fascia refers to the vertical board, also known as a frieze, that is located directly beneath the roof’s overhang and is typically attached to the gutter. When paired with the soffit, which is the horizontal board connecting the walls with the fascia, they create an enclosure for the roof’s eaves.
When building a new house or keeping an old one in good shape, the fascia is an important part that protects and defends against the outside elements. They provide support for the lower edge of the roof and help to keep water and debris from getting into the attic.
Over time, fascia boards can become damaged or rot, and need to be replaced. In this article, we will provide a step-by-step guide on how to replace fascia boards yourself, including the tools and materials needed.
Replacing fascia gutters (fascia boards) can be a daunting task, but with the right tools and some knowledge, it is possible to do it yourself. If you need to fix a rotten fascia board, the easiest solution is to remove the damaged section and replace it with a new piece. Begin by gathering all the necessary tools and materials. It’s important to measure your current fascia board so that you can buy a replacement piece of wood that fits perfectly.
Key Summary:
- Step-by-step guide to replacing fascia boards: Includes removing old boards, measuring and cutting new ones, and installing them with safety precautions.
- Essential tools and materials: Safety glasses, gloves, circular saw, jigsaw, drill, screws, and new fascia boards are needed to complete the project.
- Safety first: Always use proper safety gear, a stable ladder, and caution when handling power tools or working at heights.
- Finishing touches: Sand rough edges, apply paint, and reattach the gutter to ensure a polished and secure result.
Tools and Materials Needed
Before you begin replacing your fascia boards, you will need the following tools and materials:
- Safety glasses
- Gloves
- Ladder
- Circular saw
- Chalk line
- Pry bar
- Hammer
- Nails
- New fascia boards
- Jigsaw
- Drill
- Screws
- Caulk
- Paint
Safety Precautions
When replacing fascia boards, safety should always be your top priority. Here are some safety precautions to keep in mind:
- Wear safety glasses and gloves to protect your eyes and hands.
- Use a sturdy ladder and make sure it is on level ground.
- Never stand on the top three rungs of a ladder.
- Be aware of your surroundings and make sure there are no power lines or other hazards in the area.
- Always use caution when using power tools.
Removing Old Fascia Boards
The first step in replacing fascia gutter boards is to remove the old ones. Here’s how:
- Remove the gutter from the fascia board by unscrewing the brackets or clips holding it in place.
- Use a circular saw to cut through the nails that are holding the fascia board to the roof rafters. Make sure you don’t cut into the roof.
- Use a chalk line to mark a straight line where the old fascia board was located.
- Use a pry bar and hammer to remove the old fascia board.
Installing New Fascia Boards
Once you have removed the old fascia board, it’s time to install the new one. Here’s how:
- Cut the new fascia board to the correct length using a circular saw.
- Use a jigsaw to cut out any notches or angles needed to fit the new fascia board around roof rafters or other obstacles.
- Use a drill to make pilot holes for the screws that will hold the new fascia board in place.
- Attach the new fascia board to the roof rafters using screws.
- Apply caulk to any gaps between the new fascia board and the roof.
Finishing Touches
The final step in replacing fascia boards is to add some finishing touches. Here’s how:
- Sand any rough edges on the new fascia board.
- Apply a coat of paint to match the color of the house.
- Reattach the gutter to the new fascia board using screws or brackets.
In conclusion, if you have previous experience doing similar work and feel comfortable working at heights, replacing fascia on your own may be an option. However, it’s important to have a partner who can assist you in lifting the fascia boards into position. Keep in mind that making a mistake during the fascia replacement process can result in expensive repairs. So, if you have any questions or concerns, it’s best to ask a professional contractor for help.
Recent Posts
- How to Choose the Right Colorbond Roofing for Coastal Homes July 2, 2025
- Why Colorbond Fencing is the Best Option for Bushland and Rural Properties June 25, 2025
- How Reflective Roofing Can Reduce Your Summer Energy Bill June 13, 2025
- Exploring Metal Roofing Options Online: A Comprehensive Guide June 9, 2025
- Discovering Colorbond Colours: Surfmist, Dover White, Basalt, and More June 6, 2025